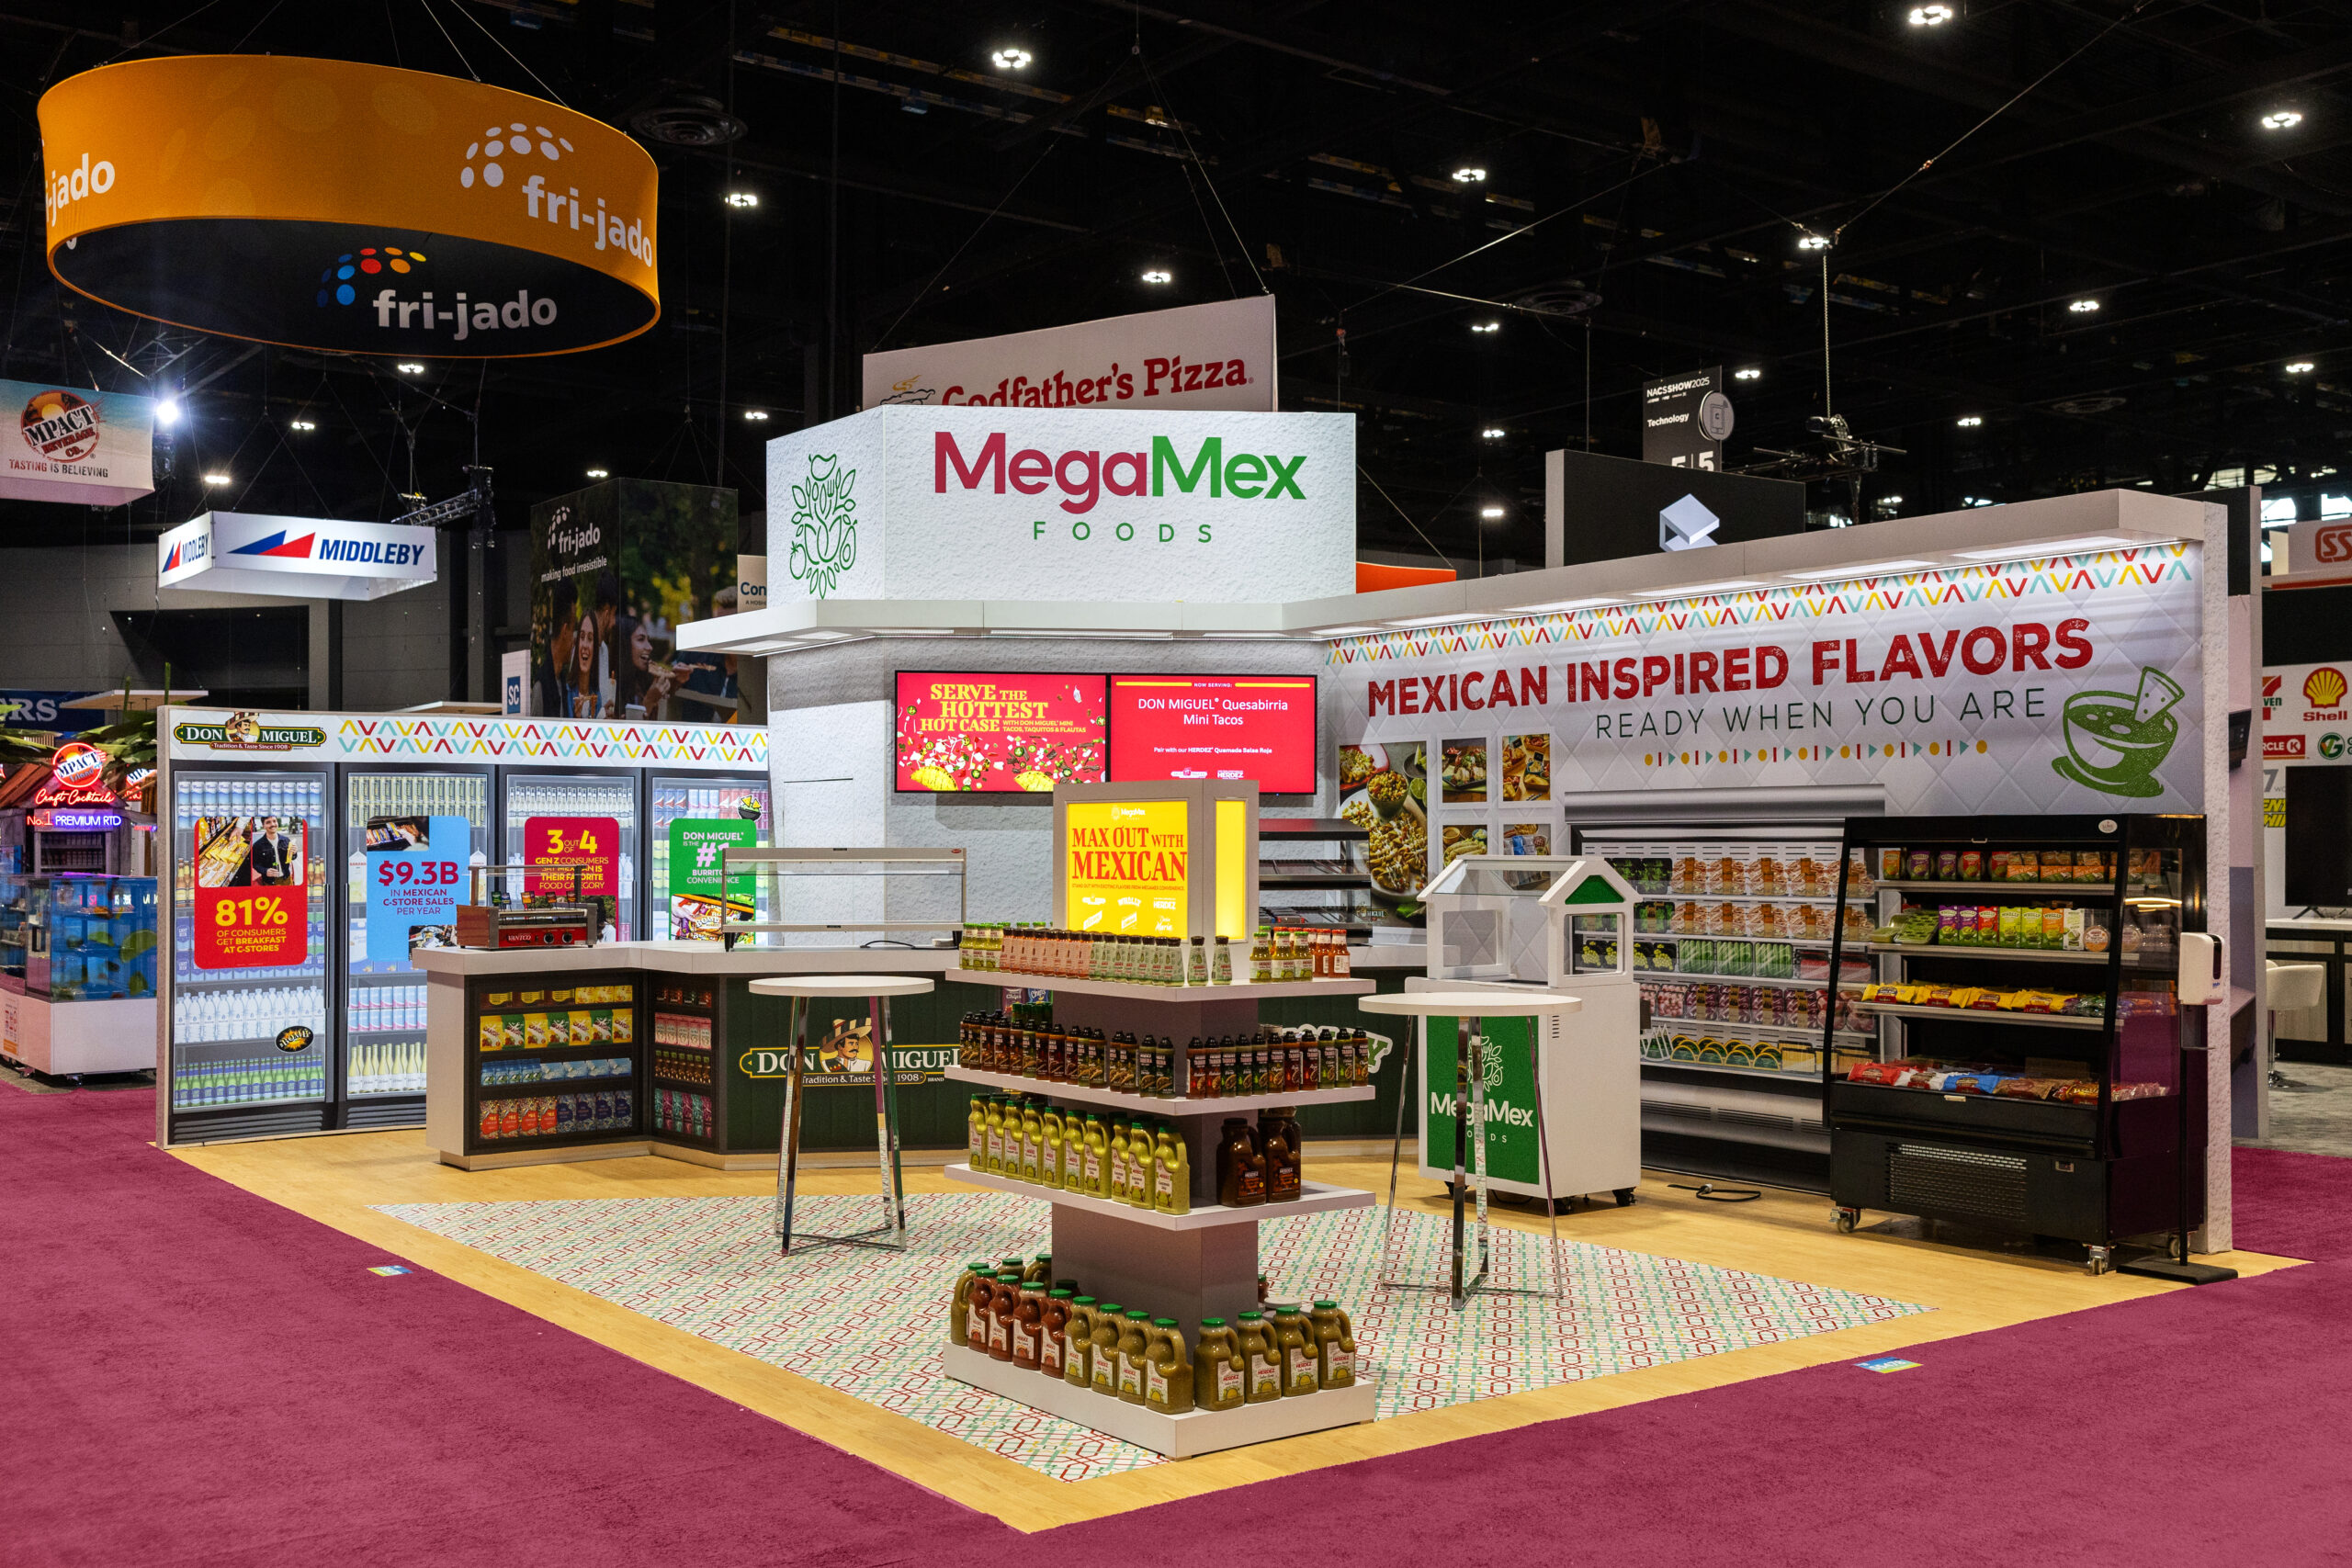
Managing a growing inventory of graphics—especially for trade shows, events, or retail environments—can quickly become overwhelming. Without a clear graphics cataloging system, teams waste time searching, recreating, or even repurchasing graphics they already own.
Here’s a simple and effective method to bring order to the chaos:
Step 1: Photograph Your Graphics Inventory
Use a high-quality digital camera or smartphone to take photos of every single graphic in your inventory. Capture both front and back if needed. Be sure each image is well-lit and clearly shows the content and scale of the piece.
✅ Tip: Name each file with a clear identifier (e.g., “2013_Q1_Backdrop_10x10.png”).
Step 2: Create a Centralized Online Catalog
Upload the photos to a cloud-based folder or database (such as Google Drive, Dropbox, or Airtable). For each graphic, include:
-
Dimensions
-
Material type
-
Event(s) used
-
Storage location
-
Date created
If you use project management tools like Trello or Notion, you can create custom fields and tags for even more powerful filtering and search.search. This online graphics catalog becomes your go-to reference—saving time and reducing errors when planning future events.
Step 3: Add Metadata to Support Graphics Cataloging
To make your graphics library more useful, add descriptive labels to each image. This helps your team quickly identify what the graphic is, where and when it was last used, and whether it’s still in good condition.
For each image, include:
-
A short description (e.g., “10×10 fabric backdrop with logo, used at CES 2023”)
-
Dimensions
-
Material type (e.g., foam board, fabric, vinyl)
-
Event or campaign used
-
Current storage location
Include these details in the file name or metadata fields to make searching and sorting easier. When cataloging your graphics, consistency is key.
Step 4: Store Your Graphics Catalog in a DAM or CMS
Once your graphics catalog is organized, store it in a central place where your team can easily access and update it. A digital asset management (DAM) system or internal content management system (CMS) is ideal for this.
-
Is accessible to both marketing and operations teams
-
Has clearly defined naming conventions
-
Includes filters or tags to sort by size, event, or format
-
Is reviewed regularly to keep records current
If your team doesn’t use a DAM yet, start with a shared folder structure and build a habit of maintaining it.
Why Cataloging Graphics Matters
Organizing your graphics inventory saves money and avoids redundant design costs. It allows your team to reuse high-quality graphics for multiple events, increasing ROI on design and printing. More importantly, it eliminates the last-minute scramble to locate assets before a show.
Bonus: Make a Print Album (Optional)
While digital is king, some teams still benefit from a printed binder with thumbnails of all graphics. This can be useful during in-person meetings or warehouse inventory reviews.
Still starting from scratch? Read our guide to designing trade show graphics or get in touch with our creative services team for expert help.


